Category: Math at home

Number games, hands-on practice for addition, multiplication and fractions, and ways to make math less stressful for kids.

  • Fractions on pizza night: a Common Core grade 3 walk-through

    Fractions on pizza night: a Common Core grade 3 walk-through

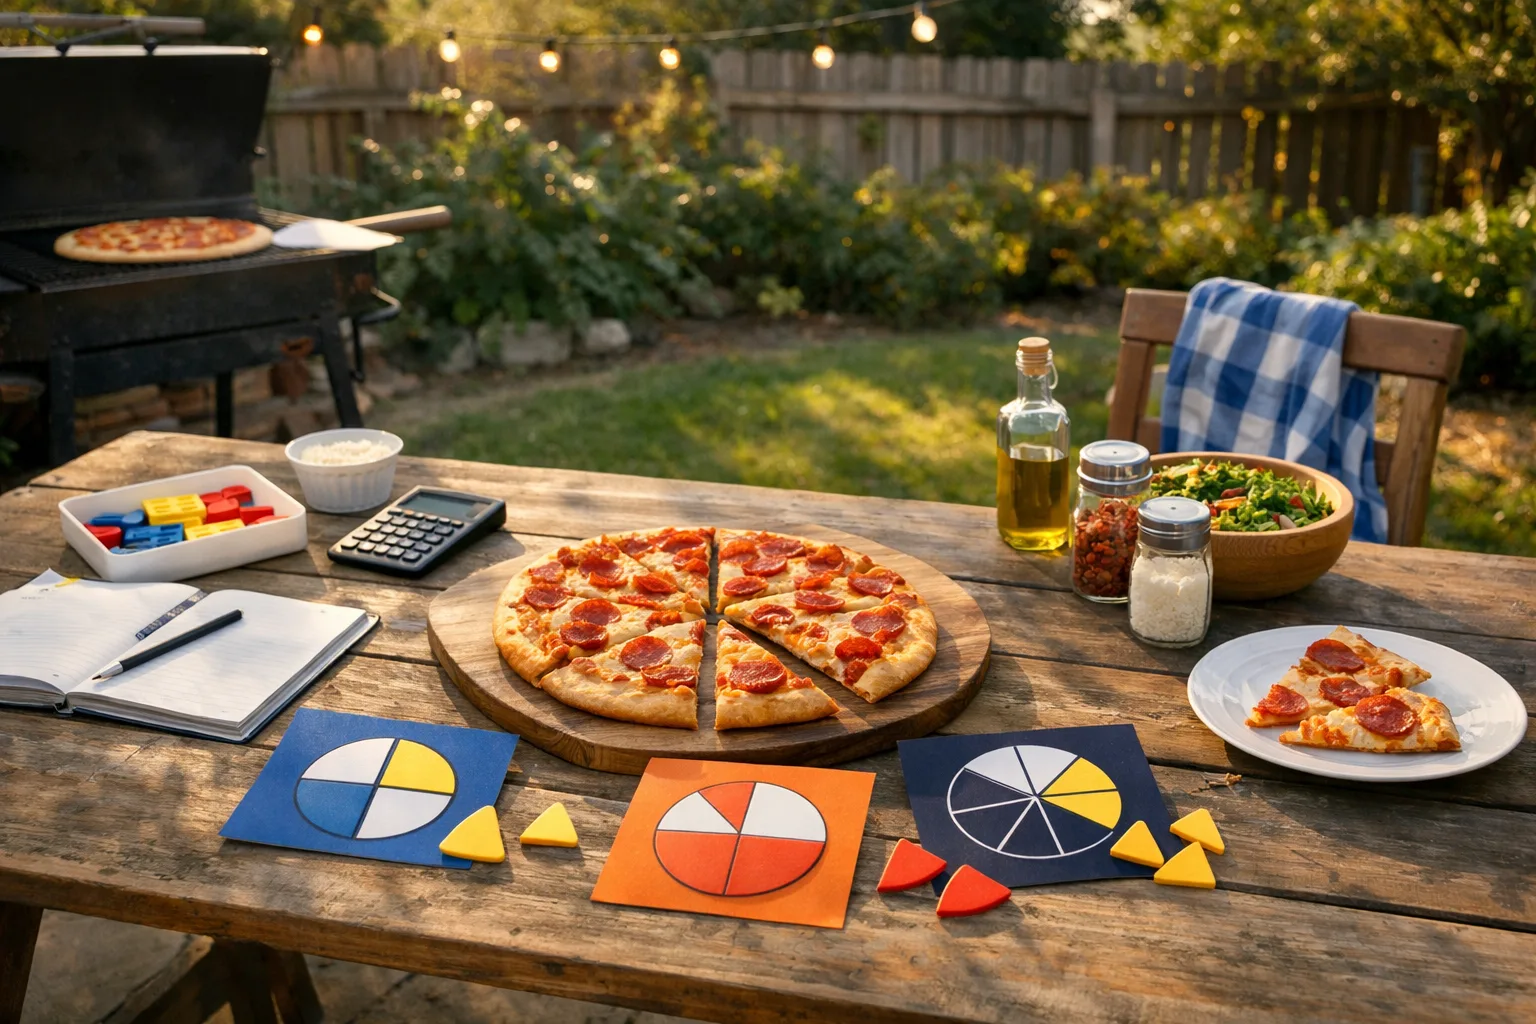
    Few foods teach fractions as well as a pizza. It is round, it is easy to cut into equal pieces, and everyone at the table cares about getting a fair share. Third graders meet fractions in a serious way this year, and a single pizza night can make the ideas stick.

    What third graders are asked to learn

    The Common Core State Standards for mathematics, available from the Common Core State Standards Initiative, introduce fractions in third grade as numbers. Students learn that a fraction names equal parts of a whole, that the bottom number (the denominator) says how many equal parts, and that the top number (the numerator) says how many of those parts you are talking about. They also work with fractions on a number line, compare fractions with the same numerator or denominator, and begin to see that some fractions name the same amount. Not every state uses these exact standards, but most cover similar ground.

    Step 1: cut it fair

    Start with a whole pizza, or draw one on paper. Ask your child to cut it into two equal pieces. Each piece is one half. Cut each half in two, and you have fourths. Cut each fourth in two, and you have eighths.

    Stress the word equal. If the pieces are different sizes, they are not fourths, even if there are four of them. Let your child test that by comparing a big slice and a small slice.

    Step 2: say it and write it

    Hold up one eighth of the pizza and say, “This is one eighth.” Write 1/8 on a napkin. Then ask, “How many of these make the whole pizza?” Eight, so 8/8 is one whole. Have your child point to 3/8 by choosing three slices, then 5/8, and so on. Always say the numerator first, then the denominator.

    Step 3: compare and find equivalents

    Place two slices of an eight-slice pizza next to a quarter of the pie. They look the same size, because 2/8 and 1/4 are equal. Do the same with four slices and one half. Seeing equivalent fractions made of the same pizza is more convincing than any worksheet.

    Fraction Slices of an 8-slice pizza Decimal Percent
    1/8 1 0.125 12.5%
    1/4 2 0.25 25%
    1/2 4 0.5 50%
    3/4 6 0.75 75%
    8/8 (one whole) 8 1 100%

    Decimals and percents are usually taught after third grade, so treat the last two columns as a peek ahead for curious kids, not as something to memorize.

    Step 4: questions to ask while you eat

    • “If you eat 2 slices and I eat 3, who ate more? How much is left?”
    • “Is 1/2 bigger or smaller than 1/4? How do you know?”
    • “If we cut each slice in half, how many slices would we have?”
    • “Can you show me 3/4 of the pizza using slices?”

    Where to go next

    Once your child is comfortable with the pizza, repeat the ideas with a sandwich cut into halves and fourths, a chocolate bar, a measuring cup, or a ruler marked in eighths of an inch. Draw each on paper so your child begins to connect real objects with the symbols. A fraction number line drawn on a strip of paper is also helpful, because the standards ask students to place fractions on one.

    Keep the tone relaxed. If something does not click, put the pizza away and try again another night. For a more story-based evening, the Writing and language section has fun ways to write about what you cooked together.

  • Counting U.S. Mint coins: a money math practice plan for grade 2

    Counting U.S. Mint coins: a money math practice plan for grade 2

    Counting money is one of the most useful math skills a second grader learns, because it comes up in real life every day. It also pulls together skip counting, place value, and addition. The coins themselves are made by the United States Mint (U.S. Mint), and you probably have plenty in a jar at home.

    Meet the four coins

    Coin Value Nickname Practice question
    One-cent coin 1 cent Penny How many pennies make a nickel?
    Five-cent coin 5 cents Nickel How many nickels make a dime?
    Ten-cent coin 10 cents Dime How many dimes make a dollar?
    Twenty-five-cent coin 25 cents Quarter How many quarters make a dollar?

    Note that the dime is smaller than the nickel and the penny even though it is worth more. Let your child hold each coin and notice that size does not tell you value. Look for the words on the coin, too. “One cent” is written on a penny, but the nickel and dime say “five cents” and “one dime.”

    Week 1: sort and name

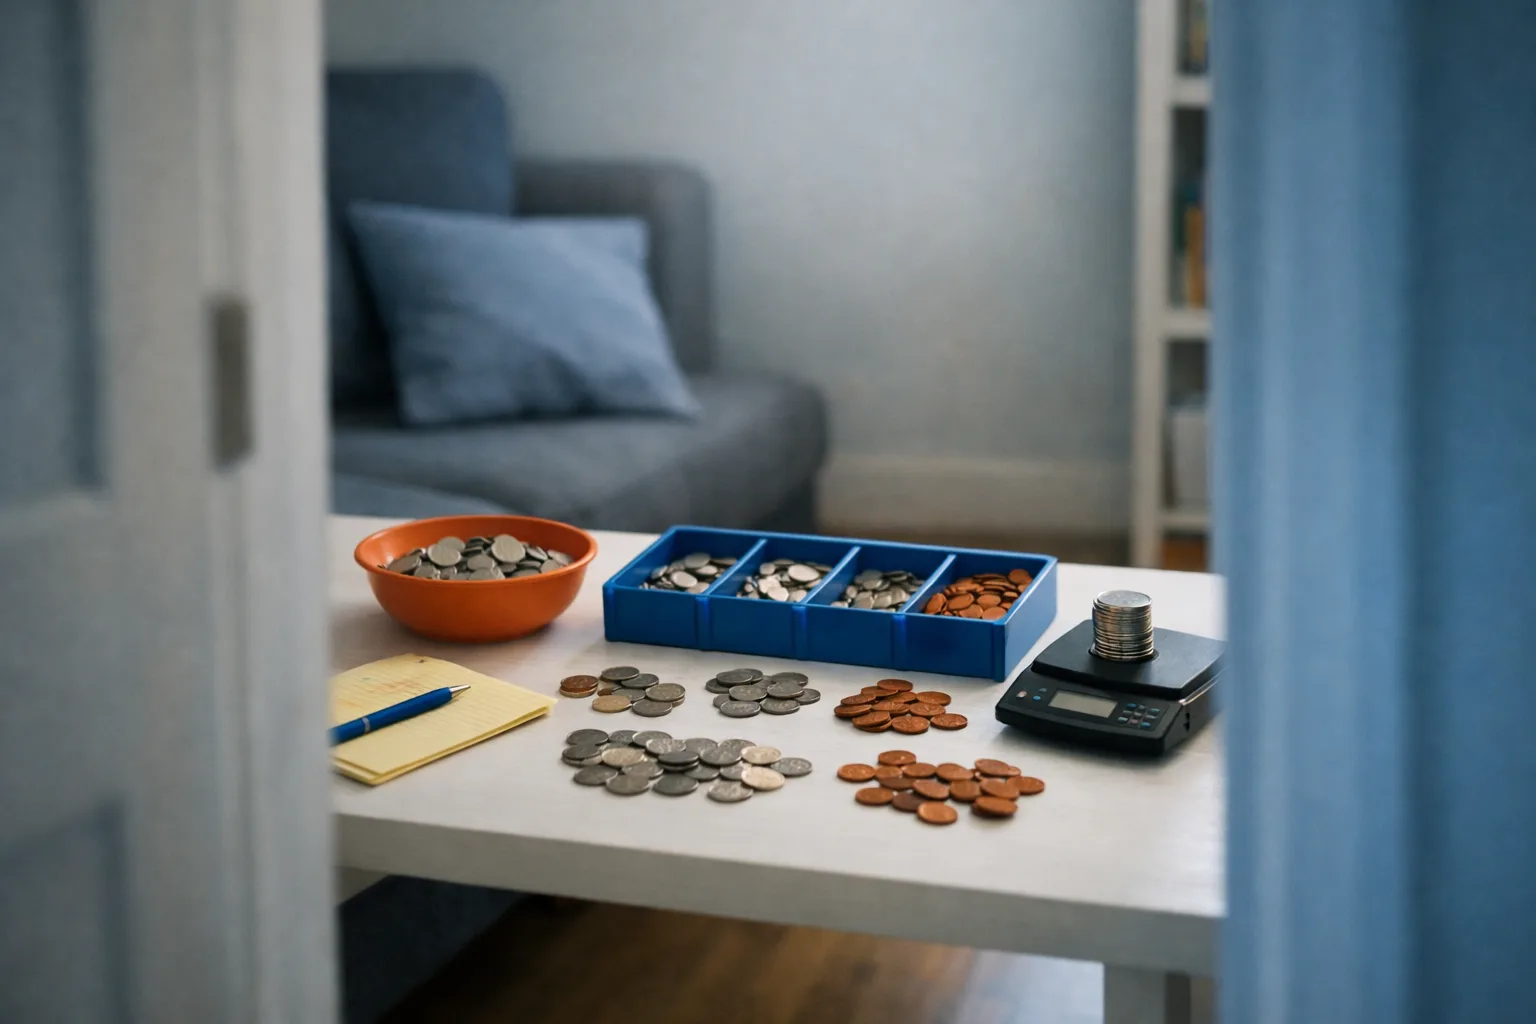
    Dump a handful of coins on the table and let your child sort them into four piles. Name each coin and say its value. Play “mystery coin”: put a coin in a sock and have your child feel it and guess which one it is.

    Week 2: count by skipping

    Teach the skip-counting patterns that go with each coin: by fives for nickels, by tens for dimes, and by twenty-fives for quarters (25, 50, 75, 100). Then count mixed groups. The trick is to start with the biggest coin and finish with the smallest. For example, a quarter, a dime, a nickel, and two pennies: say “25, 35, 40, 41, 42.”

    Week 3: make the same amount different ways

    Ask, “How many different ways can you make 30 cents?” Your child may find a quarter and a nickel, three dimes, or six nickels. This shows that the same value can be built from different coins, which is useful for later math. Write each combination down to keep track.

    Week 4: play store

    Set up a pretend shop with household items marked with prices under a dollar. Take turns being the shopper and the cashier. The cashier counts the coins and tells how much change should go back, by counting up from the price. If a snack costs 35 cents and the shopper pays with a dollar, counting up goes: 35, 40 (a nickel), 50 (a dime), 75 (a quarter), 100 (a quarter). Fun and real.

    Common stumbling blocks

    Second graders tend to trip over the same few things, and knowing them in advance saves frustration.

    • Nickel versus dime. The dime is smaller and worth more, which feels backward. Keep both coins in hand and compare them side by side until it clicks.
    • Switching counting patterns. Moving from counting by 25 to counting by 10 is hard. Say the new pattern out loud before you start, such as “Now we count by tens.”
    • Losing track. Have your child touch each coin once as it is counted, or slide counted coins into a separate pile.
    • Writing the amount. Show the cent sign and the dollar sign, and practice writing 75 cents as 75¢ and $0.75. Do not rush the decimal form, since many schools introduce it later.

    Extra games for rainy afternoons

    Try “coin toss totals”: toss a handful of coins onto a tray, then count only the coins that landed heads up. Or play “fewest coins”: name an amount like 41 cents and see who can make it with the fewest coins. The answer is a quarter, a dime, a nickel, and a penny. These puzzles push children to think about which coin goes first.

    Keep it relaxed

    Ten minutes a few times a week is enough. Allow your child to use a chart if coin values slip, and wean off it slowly. If a concept like regrouping 100 cents into a dollar seems tricky, ask the teacher how the class is writing money amounts. You can see how stories and writing mix with math in our Writing and language section, where a shopping list makes a good writing task.

  • Long division help for fourth graders with Khan Academy videos

    Long division help for fourth graders with Khan Academy videos

    Long division is a rite of passage in fourth grade, and for many children it is the first math procedure that feels like it has too many steps to hold at once. The good news is that the steps are always the same, and with a little practice they become a rhythm.

    The four steps

    Many teachers use a silly memory sentence built from the first letters of the steps, but the simplest way is to say them plainly: divide, multiply, subtract, bring down. Then repeat.

    1. Divide. Figure out how many times the divisor goes into the first digit or digits of the number.
    2. Multiply. Multiply that answer by the divisor and write the product underneath.
    3. Subtract. Subtract to find the remainder for this round.
    4. Bring down. Bring down the next digit and begin again.

    Work an example together. Take 846 divided by 6. Six goes into 8 once, so write 1 above the 8. Multiply 1 times 6 to get 6 and subtract from 8 to get 2. Bring down the 4 to make 24. Six goes into 24 four times, so write 4. Multiply 4 times 6 to get 24 and subtract to get 0. Bring down the 6. Six goes into 6 once. The answer is 141.

    Mistakes to watch for

    • Misaligned digits. A crooked column causes subtraction errors. Use graph paper, or turn lined paper sideways to make columns.
    • Forgetting to bring down. Cross off each digit as you bring it down.
    • Skipping a zero. When the divisor does not fit into a number, a zero belongs in the answer.
    • Wrong multiplication facts. If a child stumbles on 7 times 8, the whole problem wobbles. Practice facts separately.
    • A remainder larger than the divisor. That means the estimate was too small. Try a bigger number.

    Using Khan Academy videos well

    Free video lessons from Khan Academy can be a useful second voice when you are not sure how to explain something. A few ground rules keep the videos helpful rather than a shortcut:

    • Watch one short video with your child, then pause and ask, “What was the first step?”
    • Have your child work the next problem on paper before checking the answer.
    • Do not binge on videos. One lesson and a few practice problems is plenty for one evening.
    • If your child can copy the video’s steps but cannot explain why, slow down and use blocks or drawings.

    The aim is to put your child’s pencil to work, not to replace the effort with watching.

    Check the work with multiplication

    Teach your child to check an answer by multiplying: 141 times 6 should equal 846. This reinforces that division and multiplication are opposites and gives your child a way to find their own mistakes.

    If long division is still a struggle after several weeks, ask the teacher what method the class uses, since some schools teach a partial-quotients approach first. Short daily practice, not marathon sessions, builds confidence. For a break after a math-heavy night, you might read together using the ideas in Reading and literacy.

  • NCTM’s ideas for building math fluency with a deck of cards

    NCTM’s ideas for building math fluency with a deck of cards

    A deck of playing cards might be the cheapest math tool in the house. Numbers are printed on every card, the cards are easy to shuffle and deal, and the games are quick enough to play before dinner. If you have a child in grades 1 to 5, a deck can carry you through years of practice.

    What fluency really means

    The National Council of Teachers of Mathematics (NCTM) is the main professional organization for math teachers in the United States. In its published guidance, NCTM describes fluency as more than speed. It means working with numbers accurately, flexibly, and efficiently, and understanding why a method works. A game that asks your child to think about numbers in several ways builds that kind of fluency better than a timed drill.

    Get the deck ready

    Remove the jacks, queens, and kings, or keep them out of play as zeros. Aces count as 1. That leaves 40 number cards, from ace through 10, in four suits. For younger children, use only ace through 5 at first.

    Games for addition and subtraction

    Make ten

    Lay out twelve cards face up. Players take turns finding two cards that add to 10, such as 3 and 7, and taking them. Replace the cards from the deck. The player with the most pairs wins. This game builds a strong sense of number pairs, which is a foundation for mental math.

    Sum war

    Each player flips two cards and adds them. The larger sum takes all four cards. For second and third graders, play with three cards each. For older kids, subtract the smaller card from the larger and compare differences instead.

    Games for comparison

    Classic war

    Each player flips a card and the higher number wins both. It looks simple, and it is a good first game for kindergarten and first grade because it builds number sense and comparison.

    Greater than, less than

    Flip two cards each. Make the biggest two-digit number you can with your cards, then compare with your partner. Say the result aloud as a sentence, such as “Forty-two is greater than twenty-four.”

    Games for multiplication

    Multiplication war

    Each player flips two cards and multiplies them. The larger product wins all four cards. Keep a list of the facts that cause pauses, and practice them separately the next day.

    Product match

    Flip a card to set a “target multiplier,” say 6. Deal cards one at a time and have both players race to call out the product when a card appears. Change the target after ten cards.

    Adjust the level

    • Younger or less confident: use fewer cards, allow counters, and play cooperatively.
    • On target: use the standard rules and play for ten minutes.
    • Ready for more: add three cards instead of two, add a rule such as “doubles score extra,” or ask for a “how did you figure it out?” explanation each turn.

    The explanation matters. When your child says, “I did 9 plus 6 by taking 1 from the 6 and making it 10 plus 5,” that is flexible thinking, which is the real goal. Keep the mood light and quit while it is still fun. For a story-based evening that pairs well with a card game, take a look at Reading and literacy.

  • Multiplication facts at home, matched to the Texas TEKS for grade 3

    Multiplication facts at home, matched to the Texas TEKS for grade 3

    Third grade is when multiplication moves from a classroom idea to a skill your child is expected to know by heart. If you live in Texas, the standards that guide what your child learns are called the Texas Essential Knowledge and Skills, or TEKS. Families in other states will find that their standards ask for similar things, though the details and timing differ.

    What the standards ask

    The TEKS, published by the Texas Education Agency (TEA), describe multiplication in third grade as more than memorizing. Students are expected to understand what multiplication means, such as equal groups, arrays, and jumps on a number line, and to recall facts up to 10 by 10 with ease. Check the current wording for your grade on the agency’s site, since standards are revised from time to time.

    The point of fluency is not speed for its own sake. When basic facts come quickly, a child has more room in the head for harder work like multi-digit multiplication and division.

    A table-by-table order that works

    You do not have to move through the tables in numerical order. Many tutors start with the easiest ones and build outward.

    1. Twos, fives, and tens. These are familiar from skip counting. Practice counting by 2, 5, and 10 out loud.
    2. Ones and zeros. Anything times 1 stays the same, and anything times 0 is 0. Rules are quick wins.
    3. Nines. Use the finger trick or notice that the digits in each answer add up to 9 for the first ten multiples.
    4. Fours. Teach them as double-doubles: 4 times 6 is double 6, then double again.
    5. Threes and sixes. Build on what is known. Six times 7 is 5 sevens plus 1 more seven.
    6. Sevens and eights. Save these for last. By then, only a few facts remain, such as 7 times 8.

    Screen-free games

    • Multiplication war. Each player flips two cards from a deck with the face cards removed and multiplies. The higher product wins both cards.
    • Roll and record. Roll two dice, say the product aloud, and write it on a chart. See how many different products you can collect in ten minutes.
    • Array hunt. Look around the kitchen for arrays, such as an egg carton (2 by 6) or a muffin tin (3 by 4). Write the matching fact on a sticky note.
    • Beat your best. Time a one-minute round of flash cards for a single table. Compare with yesterday, not with a sibling.
    • Pacing and mood

      Ten minutes a day is plenty. Try two or three minutes of fast practice, one game, and a final check-in. Expect mastery to take most of the school year. If a particular fact keeps slipping, put it on a card and tuck it in a spot your child sees every day, such as the bathroom mirror.

      Avoid timed pressure tests at home. A stressed child freezes, and the facts do not come out any faster. If your child is still struggling by the spring, talk with the teacher about extra help. For more ways to turn practice into play, you can explore the Reading and literacy section, where we cover short routines that apply to any subject.

  • Teach clock reading when daylight saving time ends in the US

    Teach clock reading when daylight saving time ends in the US

    Every November, clocks across most of the country move back one hour, and everyone has to change at least one clock in the house. That small chore is a perfect chance to teach your child to read an analog clock, a skill many kids find harder than it looks.

    A quick bit of background

    Daylight saving time begins in March and ends on the first Sunday in November. The U.S. Department of Transportation (DOT) oversees the national time zones and the dates of daylight saving time. Children enjoy hearing the old rhyme “spring forward, fall back,” and it makes a nice memory hook for the fall change.

    Step 1: make the change together

    Gather the wall clock, the oven clock, and the old analog clock from the closet. Let your child turn the hands back one hour on the wall clock. Ask, “What time was it before? What time is it now?” This is simple subtraction, and it ties the number line to the clock face.

    Step 2: learn the two hands

    Point out that the short hand tells the hour and the long hand tells the minutes. Have your child say “short hand, hour” and “long hand, minutes” out loud a few times. Use a paper plate and two paper strips to make a practice clock, and mark the 12, 3, 6, and 9.

    Five-minute daily exercises

    • Show me. Say a time, such as 7:00 or 3:30, and have your child move the hands on the paper plate clock.
    • Tell me. Set the clock and ask your child to read it. Start with o’clock times, then half hours, then quarter hours.
    • Count by fives. Count around the clock face by fives to learn that the 3 means 15 minutes, the 6 means 30, and the 9 means 45.
    • Wake-up challenge. Ask your child to read the clock at breakfast, after school, and at bedtime, and to tell you what time it is in words.

    Keep it short and steady

    Five minutes a day for two weeks will help far more than a long session once. Move on to “quarter past” and “quarter to” only after o’clock and half hour times feel comfortable. If your child is confusing the hands, put a small colored sticker on the short hand to help.

    Many second and third graders are expected to tell time to the nearest five minutes, and later to the nearest minute. If your child is still struggling after several weeks of daily practice, ask the teacher what the class is working on. Ideas for math practice at the kitchen table are in the rest of Science and discovery too, where timing experiments are a favorite.