Category: Science and discovery

Simple experiments, nature observation and curiosity-driven projects you can do with everyday materials.

  • Kitchen chemistry: eruption experiments inspired by Mount St. Helens

    Kitchen chemistry: eruption experiments inspired by Mount St. Helens

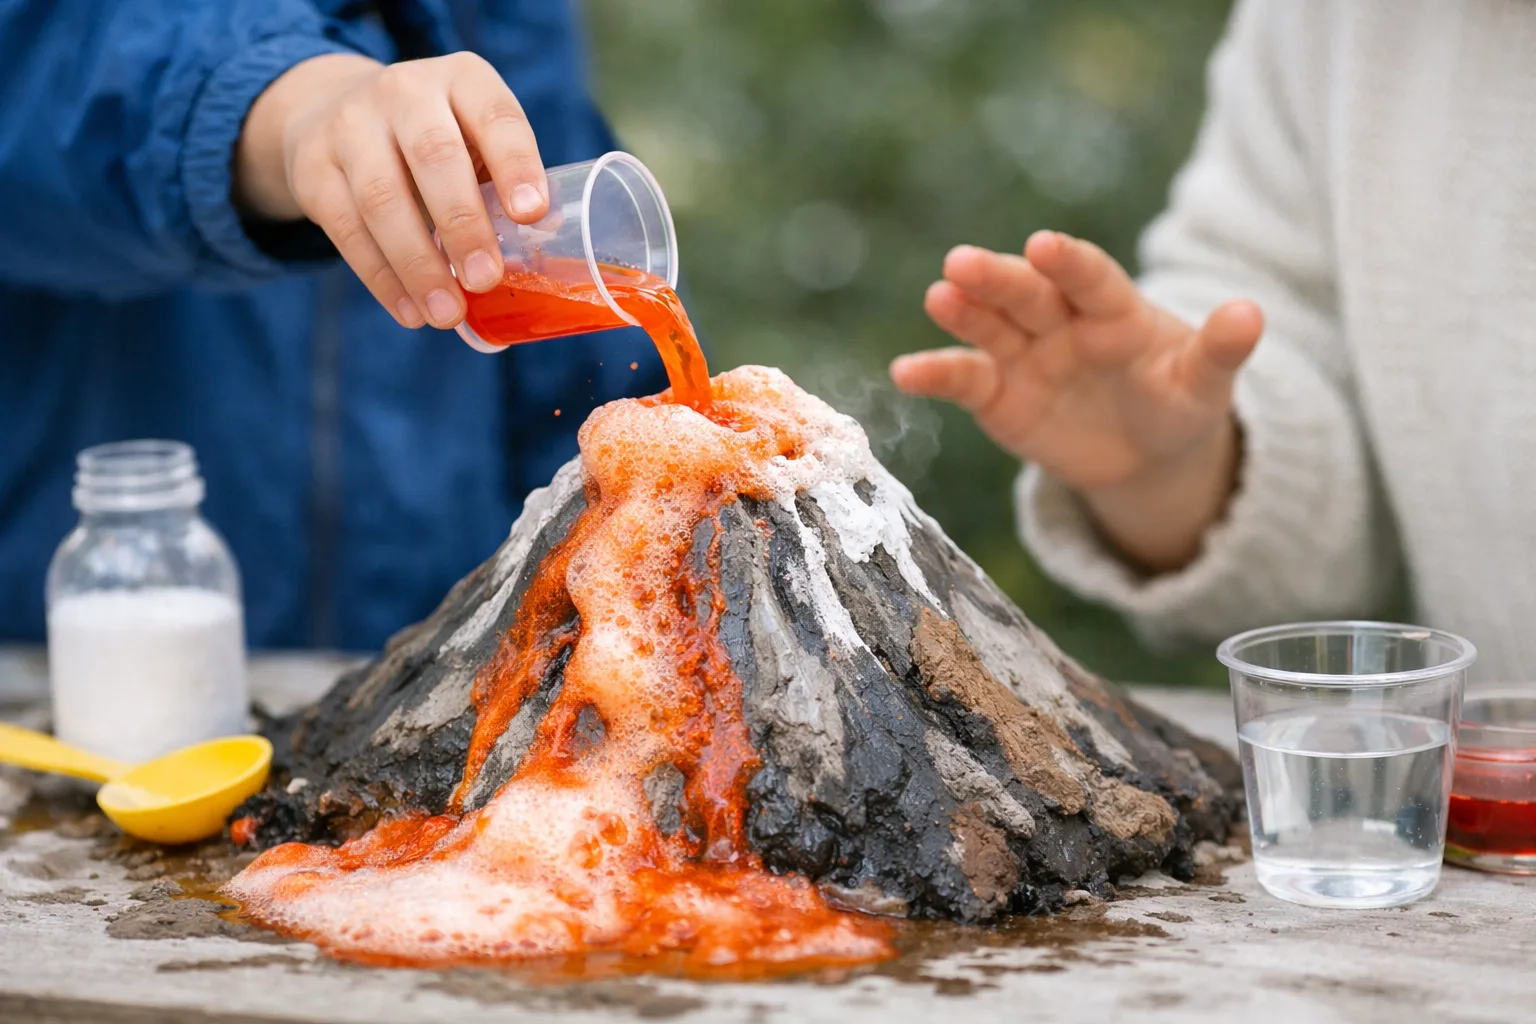
    On May 18, 1980, Mount St. Helens in Washington State erupted with a force that flattened forests and sent ash across several states. The United States Geological Survey (USGS) monitors the mountain and other volcanoes, and its scientists track small earthquakes and gas to understand what is happening below the surface. At home, a few harmless eruptions can help your child see the basic idea of pressure building and releasing.

    A word of honesty first. Vinegar and baking soda make a chemical reaction that produces carbon dioxide gas and foam. A real volcano erupts because of melted rock, called magma, and trapped gas. The kitchen version is a model, not the real thing, and that is worth saying out loud to your child.

    Before you start

    • Work outside or on a tray with edges, and wear safety glasses or sunglasses.
    • Keep vinegar away from eyes, and wash hands afterward.
    • Never seal the container. Gas needs room to escape.
    • Keep a towel and a measuring cup handy.

    Three eruptions to try

    Experiment Materials Time What to observe
    1. Classic cone Small bottle, clay or sand for the cone, 2 tablespoons baking soda, 1/2 cup (120 ml) vinegar 10 minutes How high the foam rises and how long it flows
    2. Slow and fast Two cups, warm and cold vinegar, baking soda 10 minutes Which reaction bubbles faster, and why
    3. Thick lava Baking soda, vinegar, a spoonful of flour, red food coloring 15 minutes How thick mixtures move more slowly

    Experiment 1: classic cone

    Build a cone of clay or damp sand around a small bottle with the opening at the top. Put the baking soda in the bottle. Add a few drops of red food coloring to the vinegar and pour it in. Step back and watch. Have your child draw the eruption and measure how far the foam flows with a ruler.

    Experiment 2: slow and fast

    Use two identical cups with the same amount of baking soda. Pour warm vinegar in one and cold in the other. Ask your child to predict which will fizz faster before you pour. Warmer liquids usually react a little faster, but let your child record what actually happens, since results can vary.

    Experiment 3: thick lava

    Mix a spoonful of flour into the baking soda and add vinegar. The thicker mixture flows more slowly and piles up. Ask your child how this resembles a real volcano with thick, sticky magma, and why a thick eruption might be more explosive.

    Keep a science notebook

    For each test, have your child write a prediction, draw the result, and answer one question: “What changed?” Encourage numbers where possible, such as how many seconds the fizzing lasted. Change only one thing at a time so the comparison is fair.

    Connect to the real mountain

    After the experiments, look at photos of Mount St. Helens before and after 1980 in a library book, and talk about how scientists watch volcanoes today. Ask, “What would you measure if you were a volcano scientist?” For another hands-on project that brings the outdoors to your table, check the nature notebook tips in Writing and language.

  • Why the Grand Canyon’s rock layers make a grade 4 science lesson

    Why the Grand Canyon’s rock layers make a grade 4 science lesson

    Most fourth graders have heard that the Grand Canyon is huge. Fewer realize that it is also a giant book with the pages showing. Each band of color in the canyon walls is a layer of rock that formed at a different time, so the canyon lets you read Earth’s past from the top down. That makes it one of the best examples for a grade 4 lesson on layers, time, and erosion.

    The big idea in plain words

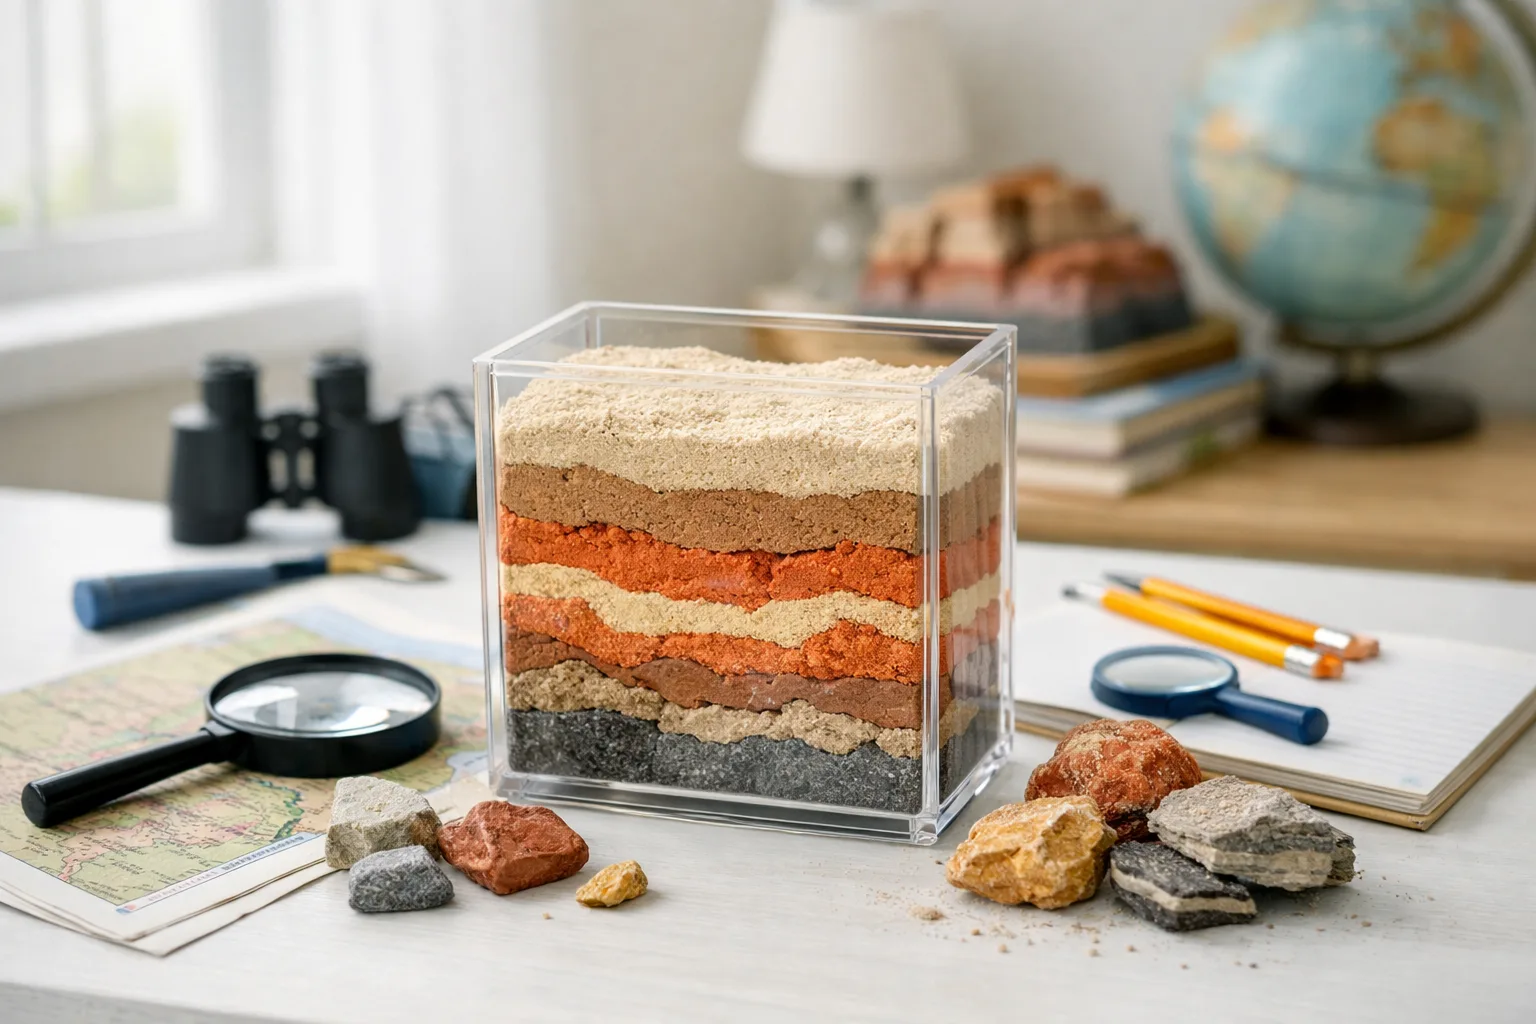
    Rock layers, or strata, usually form from the bottom up. Sand, mud, and shells settle, pile up, and slowly harden into stone. The older layers lie underneath, and the younger layers sit on top. Over a very long time, the Colorado River cut down through the layers and carved the canyon, which is why we can now see them from the rim.

    According to the National Park Service, Grand Canyon National Park in Arizona protects a canyon that is about 277 miles (446 km) long and more than a mile (1.6 km) deep. The rocks exposed in its walls record a span of roughly two billion years. Ask your child to say that number out loud and then compare it to something they know, such as their own age. It does not need to make sense yet. The goal is to feel how big it is.

    A kitchen experiment: build your own layers

    You will need a tall clear glass or jar, three or four different dry materials, and a spoon. Good choices are sand, flour, dry rice, crushed cereal, and cocoa powder. Choose materials with clearly different colors.

    1. Have your child spoon in the first material until it covers the bottom by about an inch. Explain that this is the oldest layer.
    2. Add a second color on top, then a third, then a fourth. Each one is a younger layer.
    3. Look at the jar from the side. Ask: which layer is oldest? Which is youngest?
    4. Now take a spoon and carefully scoop a narrow channel down one side, as a river would. Notice that you can see every layer in the cut.

    That cut is a tiny canyon. Ask your child to draw it and label the layers from oldest to youngest. If the jar is slightly tilted while you scoop, the layers may slide, and that is a chance to talk about how real rock can shift, fold, and crack over time.

    Questions to ask

    • If a fossil is found in the lowest layer, is it older or younger than one found near the top?
    • Why can we see so many layers at the Grand Canyon but not in our own backyard?
    • What do you think the river did to the rock over millions of years?

    Keep the answers short and let your child do the thinking. If the questions come back unanswered, look them up together.

    Use the park’s own materials

    The park maintains a website with photographs, maps, and explanations of the rock layers, plus programs for young learners such as the Junior Ranger activities. Reading just one page together out loud, and finding two facts to add to your child’s notebook, is enough for this lesson.

    You can also pair the activity with a short writing task. Ask your child to write three sentences beginning with “If I stood at the bottom of the canyon, I would see…” That ties the science back to your writing and language practice and gives you something to hang on the refrigerator.

  • Teaching moon phases at home with NASA Space Place resources

    Teaching moon phases at home with NASA Space Place resources

    Few things in the sky are as easy to watch as the moon, and few are as puzzling to a child. Why does it look like a thin curve one week and a bright circle two weeks later? You can answer that question over one month with a notebook, a few clear evenings, and a household lamp.

    Start with what NASA says

    The NASA Space Place website is aimed at elementary-age kids and offers short explanations, games, and activities about space. NASA explains the moon phases this way:

    The Moon does not make its own light. It shines because it reflects sunlight, and as the Moon orbits Earth, we see different amounts of its sunlit side. (Paraphrasing NASA)

    That one idea clears up the most common mistake, which is thinking that Earth’s shadow causes the phases. The shadow of Earth only matters during a lunar eclipse, which is a rare event. You can read more on the NASA Space Place website.

    A month-long moon journal

    The moon goes through a full cycle of phases in about 29.5 days. Make a simple chart with one box for each day, and each evening ask your child to draw the shape of the moon. If the sky is cloudy, write “clouds” in the box. Do not fill in missing days with guesses.

    Look for the moon at about the same time each evening, say after dinner. You will notice that it rises later each night. Some phases are also visible in the daytime, which often surprises kids.

    Names to learn

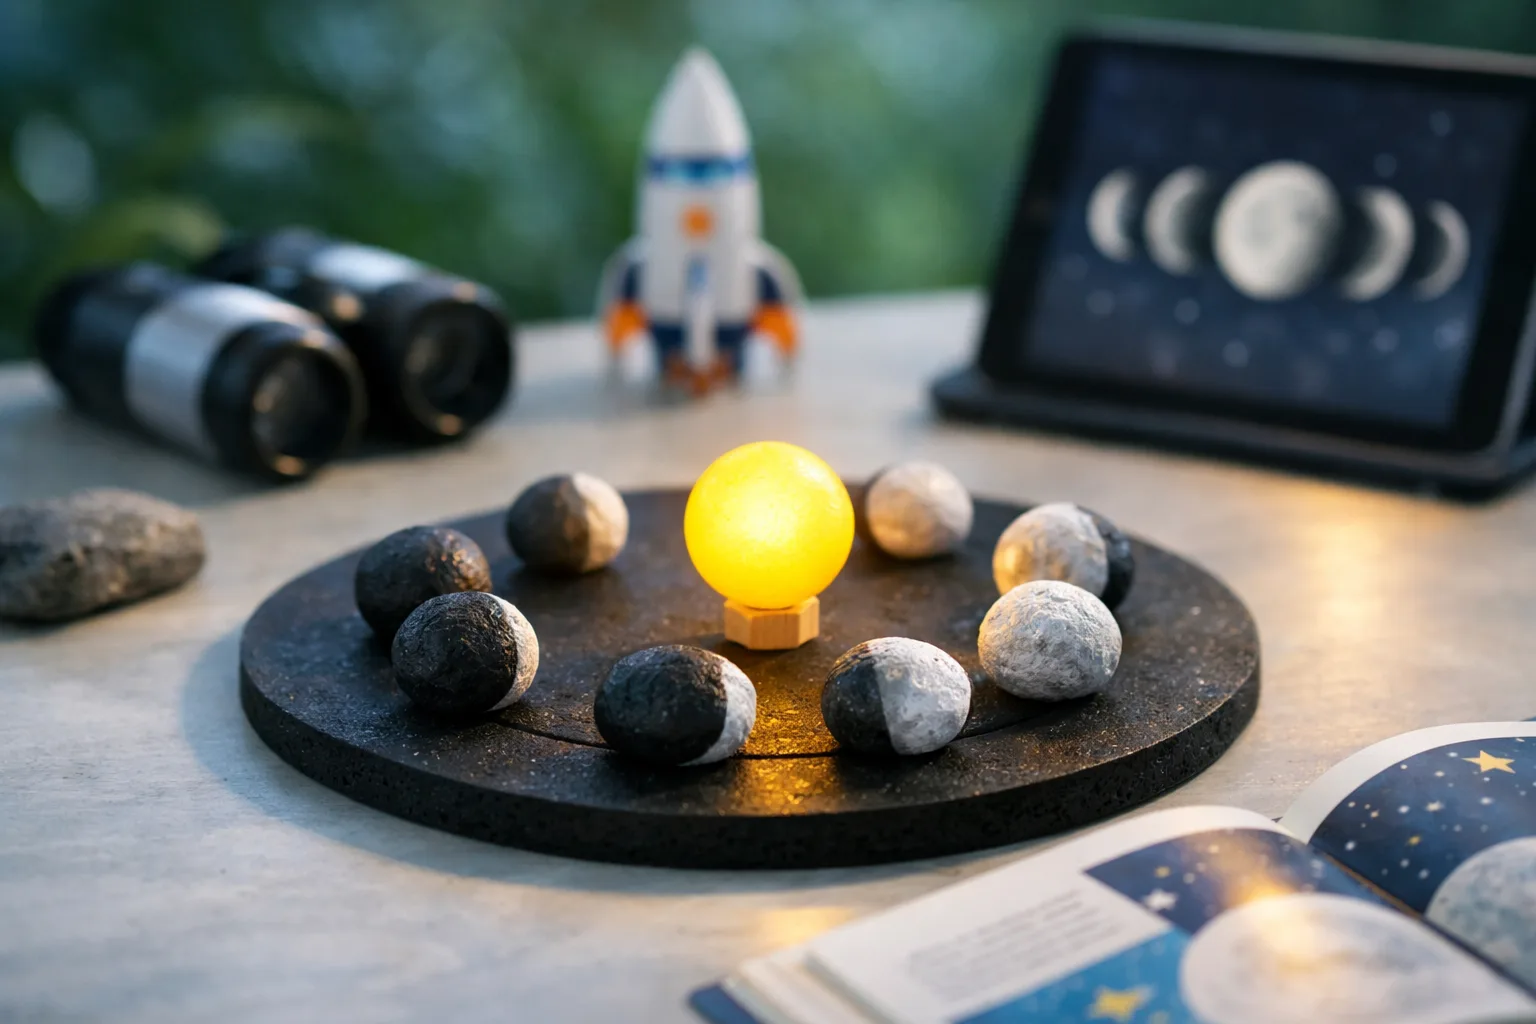
    1. New moon. The moon is between Earth and the Sun and we cannot see it.
    2. Waxing crescent. A thin sliver grows on the right side (in the Northern Hemisphere).
    3. First quarter. Half the visible disk is lit.
    4. Waxing gibbous. More than half is lit and growing.
    5. Full moon. The whole face is lit.
    6. Waning gibbous. The lit part is shrinking.
    7. Third quarter. Half is lit again, on the opposite side.
    8. Waning crescent. A last sliver before the cycle begins again.

    “Waxing” means growing and “waning” means shrinking. A memory trick: waxing moons are growing toward full.

    Build a model with a ball and a lamp

    Darken a room and set a bare lamp on a table, without the shade, to act as the Sun. Give your child a ball, such as a foam or tennis ball, to hold at arm’s length as the moon. Your child stands in the middle as Earth, holding the ball out in front, and slowly turns in a circle. Ask your child to watch the lit part of the ball.

    When the ball is between your child and the lamp, you see the dark side, which is a new moon. When the ball is on the far side, the whole face is lit, which is a full moon. Try holding it at different points and ask your child to name each phase. Younger children may need a few tries.

    Questions to ask

    • “Why does the moon look different each night?”
    • “How many days between full moons?”
    • “Do you think the same side of the moon always faces us? How could we find out?”

    If you do not see the moon on a given night, check an almanac or a weather site for the rise time. Always supervise children outdoors after dark, and keep the lamp’s bulb away from fabrics and hands, since it gets hot. For more writing ideas based on observation, try the notebook tips in Writing and language.

  • Tracking weather at home with National Weather Service data

    Tracking weather at home with National Weather Service data

    Weather is the one science topic that arrives at your door every morning. Your child does not need a lab or a kit to study it, just a few household items and the patience to look at the sky at the same time each day. Add readings from the National Weather Service and the project grows into a lesson in measurement, comparison, and graphing that fits grades 2 through 5 equally well.

    Gather your tools

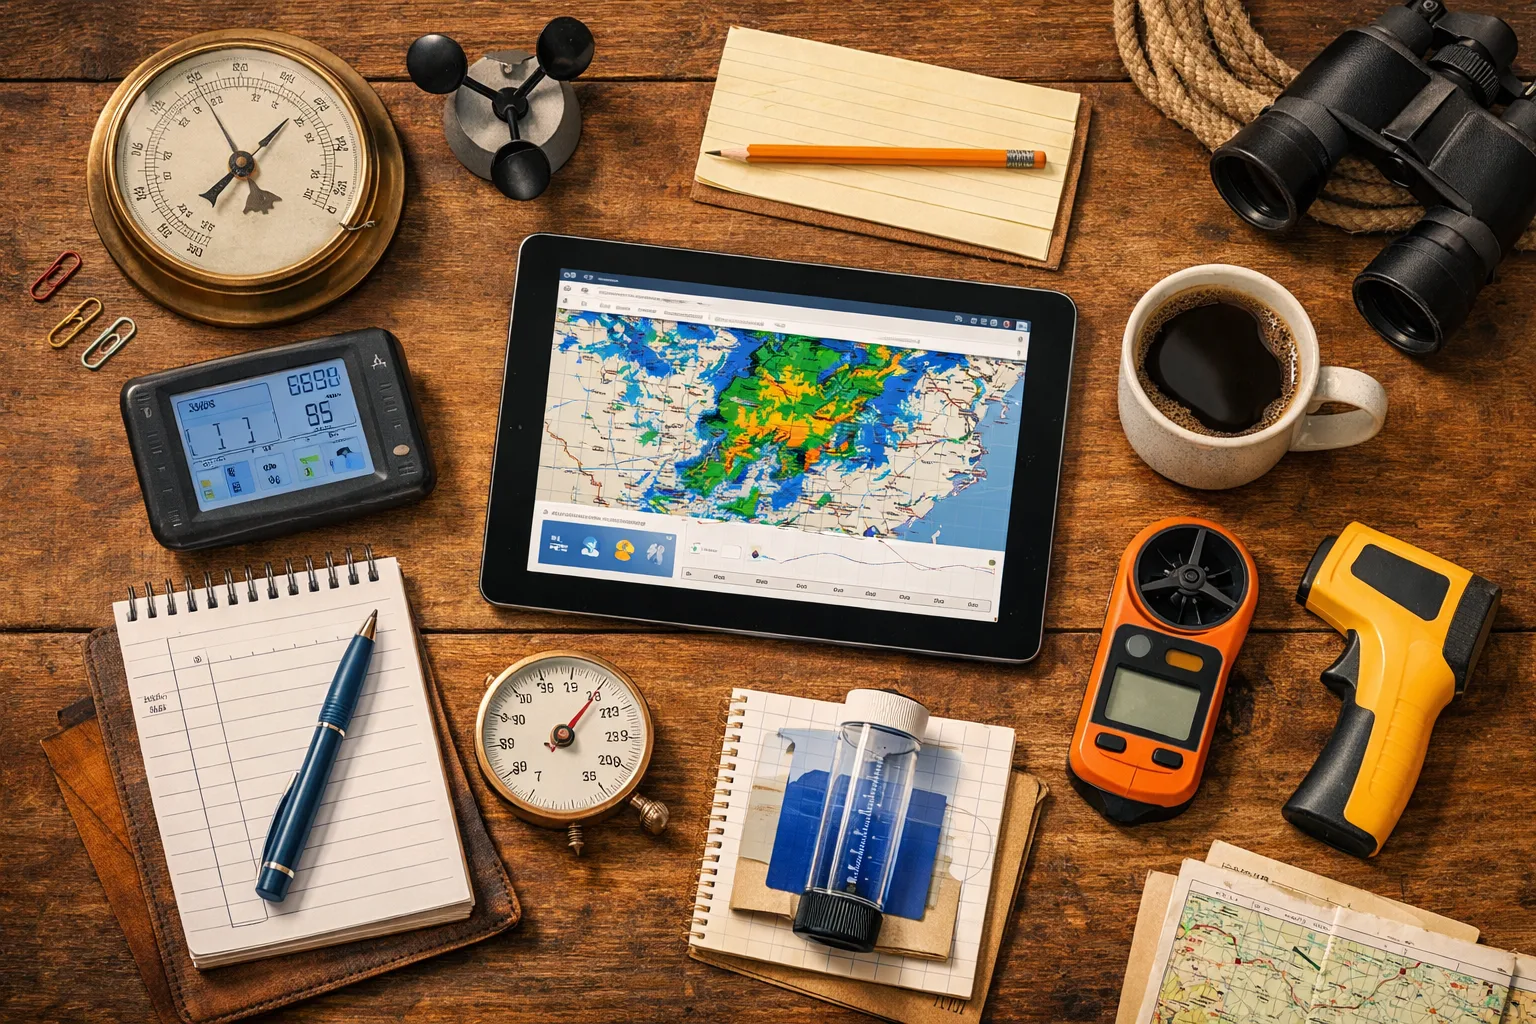
    You can build almost everything from what is already in the house. Here is a short list:

    • An outdoor thermometer, either a simple liquid one or a digital model with a probe.
    • A straight-sided clear container, such as a clean tall jar or a cut-off plastic bottle, to use as a rain gauge.
    • A ruler marked in inches and, for older kids, tenths of an inch.
    • A permanent marker and some waterproof tape.
    • A notebook or a sheet of graph paper on a clipboard.

    To mark the rain gauge, tape the ruler to the outside with the zero at the bottom of the container, or pour in a little water so that the bottom is flat and measure from there. Place the gauge in an open spot, away from the eaves of the house, trees, and fences, which can funnel extra water in or block rain. Press it into the ground or set it in a bucket so a gust of wind cannot knock it over.

    For temperature, put the thermometer in the shade about 4 to 6 feet (1.2 to 1.8 m) above the ground, on a fence post or a pole on the north side of the house. Direct sunshine will make it read too high, and a thermometer on a hot brick wall will not tell you what the air feels like.

    A daily routine that fits in five minutes

    Pick one time, such as right after breakfast or just before the school bus. Consistency matters more than the exact hour. Each day, your child records:

    1. The date and the time of the reading.
    2. The temperature in degrees Fahrenheit.
    3. The rainfall in the gauge, then empties it.
    4. A sky description in their own words: clear, partly cloudy, overcast, foggy.
    5. One observation about wind, such as “flags moving,” “leaves shaking,” or “still.”

    Younger children can draw a sun, a cloud, or raindrops instead of writing a description. Older children can add cloud types if you have borrowed a picture guide from the library.

    Compare with official readings

    Once a week, sit down together and look up the official conditions for your area on the National Weather Service site. Type in your zip code, and the page shows current observations and a forecast. The National Weather Service is part of NOAA, the National Oceanic and Atmospheric Administration, and its readings come from calibrated instruments at airports and other official stations.

    Ask your child to compare the numbers. Is the official temperature higher or lower than ours? By how much? Why might the numbers be different? A good answer might involve distance from the station, the time of day the reading was taken, or where the thermometer sits. Do not worry if the numbers do not match exactly. The point is to discover why a backyard reading and a station reading can differ, and what that teaches about measuring carefully.

    Rainfall can differ quite a bit even a few miles apart, especially during summer thunderstorms, so a mismatch there is normal and a good talking point.

    Turn the month into a graph

    At the end of four weeks, have your child make a simple graph. A line graph of daily high temperatures is a good start: days along the bottom, degrees up the side, and a dot for each reading connected by lines. A bar graph works well for rainfall, with one bar per rainy day.

    Then ask questions the graph can answer:

    • What was the warmest day? The coolest?
    • How many days had measurable rain, and what was the total in inches?
    • Did the temperature rise or fall after a rainy day?
    • If you guessed tomorrow’s temperature from this graph, what would you say, and why?

    The last question is the beginning of forecasting. Let your child make a prediction each evening for a week, then check it the next morning. They will quickly develop respect for the meteorologists who do this for a living.

    For more graph practice and other number-based projects, take a look at the math at home section. A month of weather notes also makes a fine writing sample, since a child can summarize it in a short paragraph at the end.

  • Texas wildflower walks and a nature journal with bluebonnets

    Texas wildflower walks and a nature journal with bluebonnets

    Every spring, roadsides and pastures across Texas turn blue and purple, and the Texas bluebonnet gets most of the credit. It has been the state flower since 1901, and families have been posing children in the middle of it for generations. But a wildflower walk can be more than a photo. With a notebook and a few good questions, it becomes one of the easiest science lessons you will ever run, and your child will not even notice it is a lesson.

    When and where to go

    Bluebonnets usually bloom from about mid-March through April, with the peak depending on winter rainfall and temperatures. A wet fall and a mild winter tend to make a good season, but nobody can promise a carpet of blue. Check local news or a park’s social media page for bloom updates the week before you go.

    The Texas Hill Country, the rolling limestone region west of Austin and north of San Antonio, is famous for wildflower drives and state parks. You do not have to drive far, though. Many towns have a nature trail, a city park, or a library garden where wildflowers come up on their own. A shorter walk close to home is better than a long drive that ends with a tired, hungry child.

    Wherever you go, bring water, sunscreen, and a hat, because spring afternoons in Texas can already feel hot. Wear closed-toe shoes. Wildflower fields are also home to fire ants, and tall grass can hide the occasional snake, so stay on paths and keep your eyes on where you step.

    What goes in the nature journal

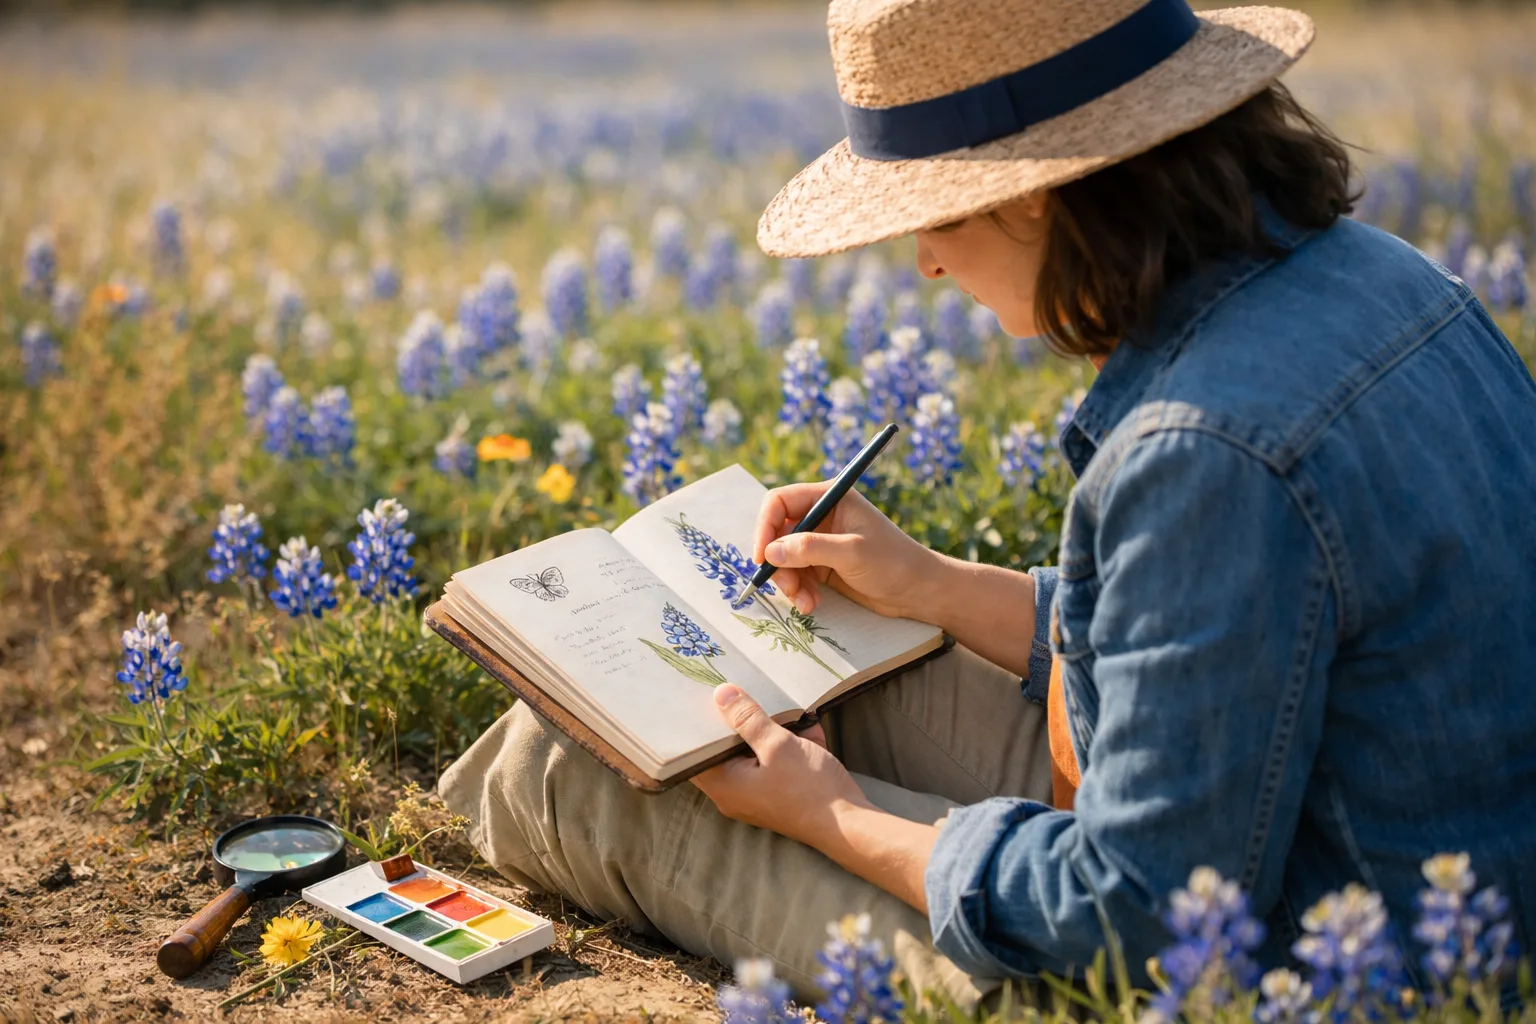
    You do not need anything fancy. A plain notebook with unlined pages, a pencil, and a small set of colored pencils will do. A clipboard makes drawing on the move much easier. Ask your child to put the same four things on every page:

    • The date and place. “April 6, Hill Country trail, sunny, windy.”
    • A drawing. One flower, drawn slowly, is worth more than a quick sketch of the whole field.
    • Labels. Petals, stem, leaves, and anything else your child can name. Invented names are fine at first.
    • One question. Something they still wonder about when they leave.

    Younger children in kindergarten and grade 1 can draw and dictate a sentence for you to write. Second and third graders can write their own captions. Fourth and fifth graders can add measurements, such as how tall the flower stands in inches, and begin comparing one day’s journal with another’s.

    Observation questions that work

    Good questions do not have one right answer. They send a child back to look again. Try a few of these, and then stay quiet while your child answers:

    1. How many petals can you count, and how are they arranged?
    2. What shape are the leaves? Do they grow in pairs, or alone?
    3. What colors do you see besides blue? Is the tip of the flower cluster a different color from the base?
    4. Who else is visiting this flower? Look for bees, butterflies, and beetles.
    5. Is the flower standing straight or leaning? Where do you think the wind comes from?

    Bluebonnet clusters are a nice case study because the lower petals on each tiny bloom are blue and the tip of the cluster is often white. Many local guides mention that the white tip can turn reddish-purple as the flowers age. Ask your child to check whether that is true on your walk rather than telling them the answer.

    Respecting wildflowers

    A field of flowers is a living place, and a few habits keep it healthy for the next family. Teach them as part of the lesson:

    • Walk around the flowers where you can, and avoid trampling patches of seedlings.
    • Leave the flowers where they are. Wildflowers have to drop seed to come back next year, so a picked bouquet means fewer flowers later.
    • Stay out of fenced pastures and private land unless the owner has welcomed visitors, and stay away from roadsides with fast traffic.
    • Take trash home. A bag in your backpack is enough.

    If your child wants to keep a memory, press a flower that has already fallen, or take a photo from the same spot each week to see how the field changes.

    Keep going after the walk

    Back at home, let your child choose their best drawing and add color from memory. Then look up the flower together in a library field guide. For a reliable general reference, the National Park Service site has plenty of material on native plants and how parks protect them. Over the following weeks, you can return to the same spot and watch the blooms fade into seed pods, which is a lesson in plant life cycles that no worksheet can match.

    If you want to practice measuring, our math at home section has ideas for turning flower heights into simple bar graphs. By the end of the season, you will have a notebook of real observations, and a child who looks a little longer at everything green.

  • A year of backyard bird watching with Project FeederWatch

    A year of backyard bird watching with Project FeederWatch

    A bird feeder outside a kitchen window is one of the easiest science labs a family can build. It costs little, it runs all year, and every day brings something to see. With a notebook and a bit of patience, your child can learn to identify birds, spot patterns, and even contribute observations to real research.

    What Project FeederWatch is

    The Cornell Lab of Ornithology runs Project FeederWatch, a citizen-science program in which people across North America count the birds that visit their feeders and report what they see. The counts happen during the colder months, roughly November through early April, and scientists use the data to study how bird populations shift over time. Anyone with a feeder can take part, including families. You can learn more at the Project FeederWatch website, which explains how to sign up and what to count.

    You do not have to enroll to start watching. Many families begin on their own and decide later whether to join.

    Set up your station

    Choose a spot

    Place the feeder where you can see it from a window, ideally about 10 feet (3 m) from shrubs or trees so birds can escape from predators, but not so close that cats can hide. To reduce window strikes, put the feeder either very close to the glass, within about 3 feet (1 m), or well away from it, more than about 30 feet (9 m).

    Pick the food

    Black-oil sunflower seed attracts many common species. A tube feeder suits small birds like finches, while a platform feeder welcomes cardinals and juncos. Start with one feeder and one kind of seed. Add more variety once birds are visiting regularly.

    Keep it clean

    Dirty feeders can spread disease among birds. Empty old seed, scrub the feeder every couple of weeks with hot soapy water, rinse it well, and let it dry before refilling. Cornell Lab and other bird groups offer detailed cleaning guidance, including a mild bleach rinse. An adult should do the cleaning, and everyone should wash hands afterward.

    Start a bird journal

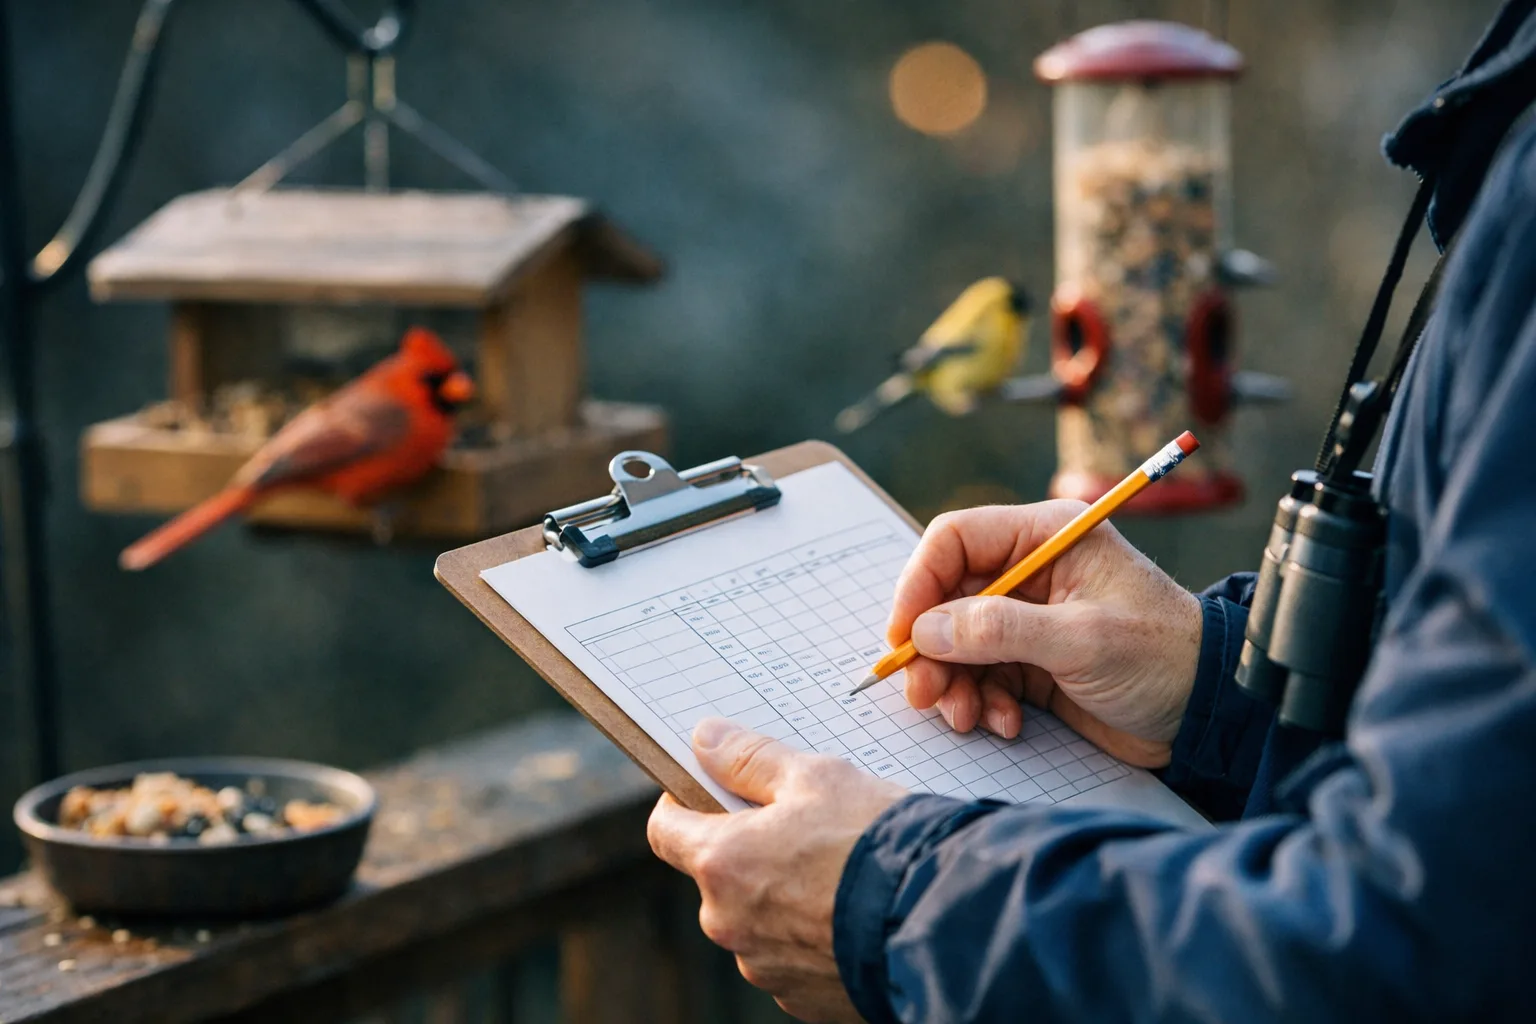
    Give your child a small notebook and a pencil. Each entry can include the date, time, weather, and a quick sketch of each bird that visits. Add notes about color, size compared with a sparrow or a robin, beak shape, and behavior. Number the birds that come together, since counting is exactly what citizen scientists do.

    Keep a pair of binoculars handy. A child-sized pair is fine, and the free field guides at the library are a good place to look up what you saw.

    Five common birds to learn first

    • Northern cardinal. The male is bright red with a crest and a black face. The female is tan with red touches. Cardinals often visit at dawn and dusk.
    • Black-capped chickadee. A small, curious bird with a black cap and bib. It grabs a seed and flies off to eat it elsewhere.
    • Dark-eyed junco. Often called a “snowbird,” it has a gray or brown back and a white belly, and it feeds on the ground.
    • Blue jay. Large, loud, and blue with white and black markings. It may carry away peanuts.
    • American robin. A familiar bird with an orange-red breast. Robins prefer worms and fruit to seed, so you are more likely to see them on the lawn than at a feeder.

    Not every region has all five, so ask your local library for a field guide to birds in your area.

    A season-by-season plan

    Fall: get ready

    As the weather cools, set up the feeder and clean it. Many birds migrate through in fall, so you may see unfamiliar visitors. Record the first day you see each species.

    Winter: count

    This is the prime time for feeder watching, because natural food is scarce. Pick a regular watching day, and count the greatest number of each species that you see at one time. This method avoids counting the same bird twice, and it is the approach FeederWatch uses. Keep a tally in your journal.

    Spring: watch for change

    Migrants return, and some birds change their colors and songs. Watch for nest-building behavior, but keep a respectful distance from any nests. Listen for new songs and describe them in your journal in your own words.

    Summer: look beyond the feeder

    Feeder traffic often drops when insects and berries are plentiful. Use this time to take a walk and see where birds nest and feed. Add a shallow birdbath, and watch for parents bringing young to the water.

    Make the watching a family habit

    Choose a short, regular time, such as ten minutes before breakfast, and let everyone share a job. One person is the spotter, one is the recorder, and one is the weather reporter who writes down the temperature and whether it is sunny, cloudy, or snowy. Rotate the jobs each week so nobody gets bored. A small whiteboard near the window works well for quick tallies that can be copied into the journal later.

    Patience is the main skill here. Some mornings the feeder will be busy, and other mornings it will be quiet. Both are useful data. A child who learns to write “zero birds today” without disappointment is thinking like a scientist, because an empty count tells you something too.

    Safety and kindness

    Watch from inside or from a distance, so the birds feel safe. Never touch a sick or injured bird, and do not try to handle wild birds yourself. If you find one in trouble, call a local wildlife rehabilitator. Keep cats indoors if you can, since feeders attract birds right into easy reach. These habits teach children that watching wildlife comes with responsibility.

    Questions for your child

    • “Which bird do you see most often? Why might that be?”
    • “Does the number of birds change when the weather changes?”
    • “What is your favorite bird’s beak shaped like, and what does that help it eat?”

    Looking back after a year

    At the end of twelve months, spread out your notebook pages and count together. Which birds came in every season? Which disappeared? Make a simple bar chart on paper. That chart is real data, which is what scientists use, and it is a powerful way for a child to see that careful, patient observation tells a story.

    If your child enjoys writing about what they notice, see the Writing and language section for journaling ideas that go well with a bird notebook.